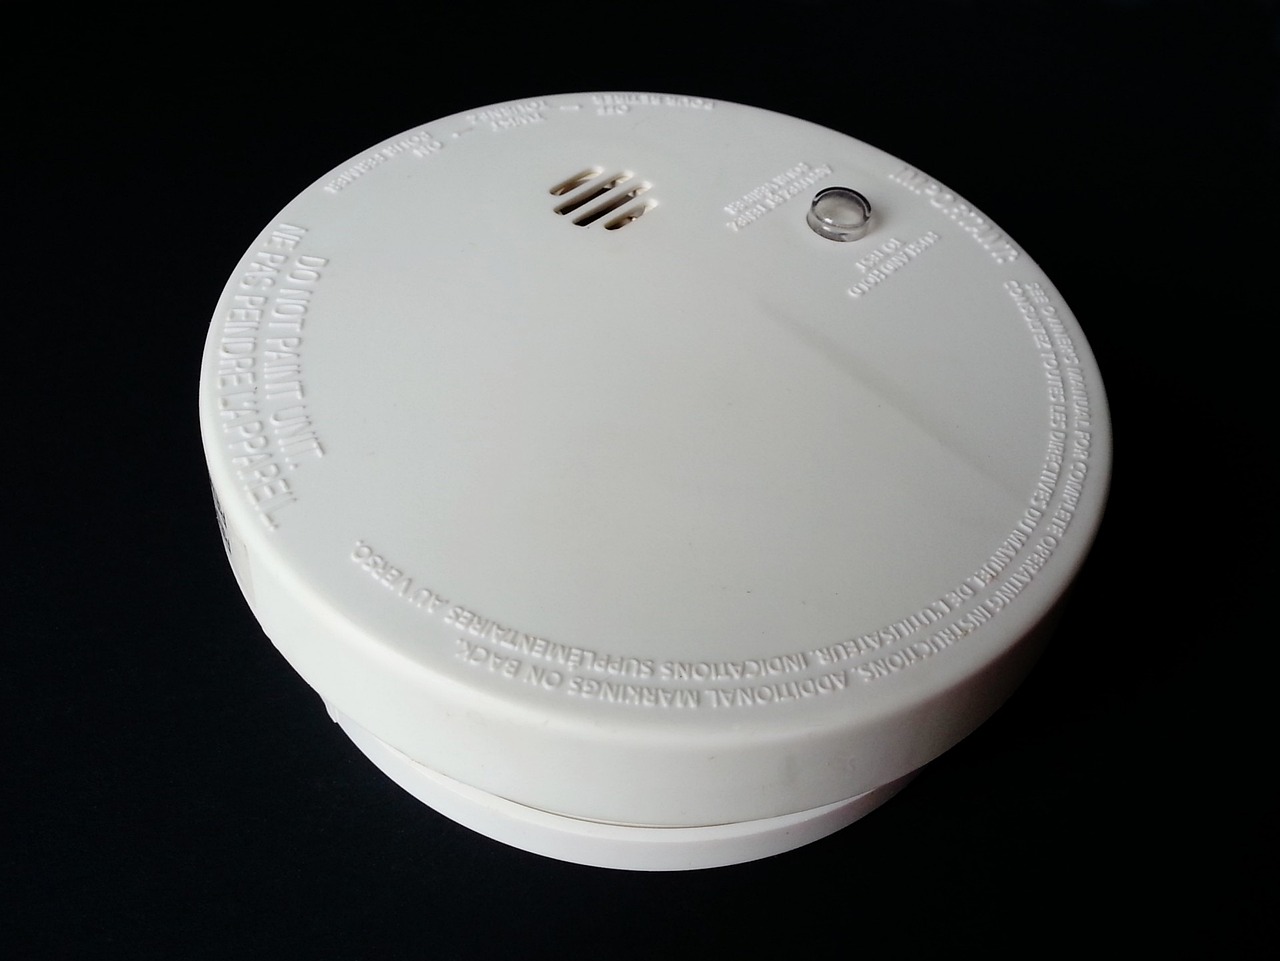
Smoke detectors are essential in ensuring the safety of our homes and loved ones. They detect smoke and warn us of a potential fire. However, there may be instances when you need to unplug a smoke detector, such as during renovations or when the detector is malfunctioning. It is important to know how to safely unplug a smoke detector to avoid any potential dangers. In this article, we will guide you through the ten steps to unplug a smoke detector safely and effectively.
Step 1: Turn off Power
Before you start, you need to turn off the power to the smoke detector. Locate your circuit breaker panel and identify the circuit for the smoke detector. Switch off the circuit to cut off the power supply to the smoke detector. This will ensure that you don’t accidentally trigger the smoke detector while you’re working on it.
Step 2: Remove the Smoke Detector Cover
Next, you need to remove the cover of the smoke detector. Identify the type of smoke detector you have and remove the cover accordingly. Some smoke detectors have a simple clip-on cover while others may require a screwdriver to remove the cover. Take note of any safety precautions to be taken when removing the cover.
Step 3: Disconnect the Wires
Once the cover is removed, you can now identify the wires that connect the smoke detector to the power supply. Use a screwdriver to disconnect the wires from the smoke detector. Be sure to take all necessary safety precautions when handling the wires to avoid any electric shock or injury.
Step 4: Remove the Battery
If your smoke detector has a battery backup, you will need to remove the battery to fully disconnect the power supply. Locate the battery compartment and remove the battery. Take note of any safety precautions when handling the battery.
Step 5: Check the Smoke Detector
Now that you have disconnected the power supply, it is time to visually inspect the smoke detector for any damage. Check for any cracks or signs of wear and tear. You should also test the smoke detector to ensure that it is working properly.
Step 6: Decide Whether to Replace or Repair
Once you have checked the smoke detector, you can decide whether to repair or replace it. Factors to consider include the cost of repairing vs. replacing the smoke detector, the age of the smoke detector, and its warranty status. If the smoke detector is beyond repair, it is recommended to replace it.
Step 7: Repairing a Smoke Detector
If you have decided to repair the smoke detector, you need to identify common problems with smoke detectors. These include dirty sensors, faulty wiring, and low battery. Troubleshoot the issue and make necessary repairs. Take note of all safety precautions when repairing the smoke detector.
Step 8: Replacing a Smoke Detector
If you have decided to replace the smoke detector, choose a new smoke detector that meets your needs. Install the new smoke detector according to the manufacturer’s instructions. Be sure to take all necessary safety precautions when installing the new smoke detector.
Step 9: Turn on the Power
Once the smoke detector is repaired or replaced, it’s time to turn on the power. Go back to the circuit breaker panel and turn on the circuit for the smoke detector. Check if the smoke detector is working properly.
Step 10: Test the Smoke Detector
After turning on the power, it is important to test the smoke detector to ensure that it is functioning properly. You should test your smoke detectors at least once a month to ensure they are working correctly.
Conclusion
In conclusion, unplugging a smoke detector requires caution and adherence to safety precautions. It is essential to follow the ten steps we have outlined above to ensure you unplug the smoke detector safely and effectively. Always remember to turn off the power and take note of any safety precautions when handling the smoke detector, wires, and battery. If you are unsure or uncomfortable with unplugging a smoke detector, it is recommended to seek professional assistance.

